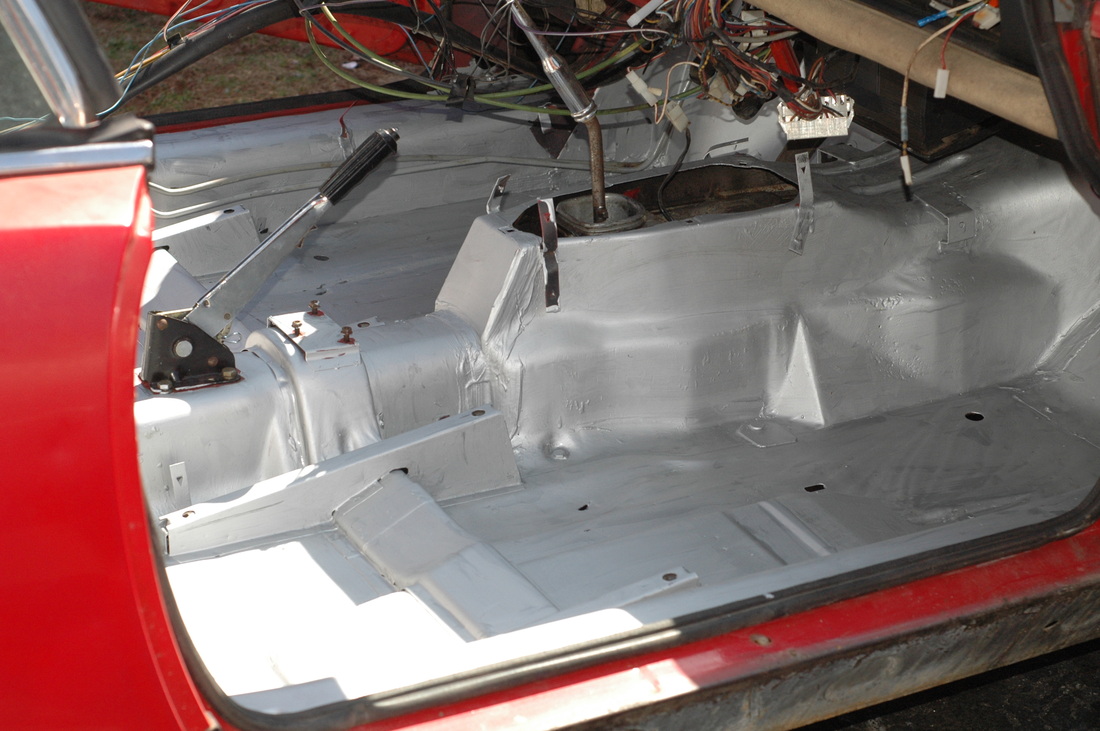
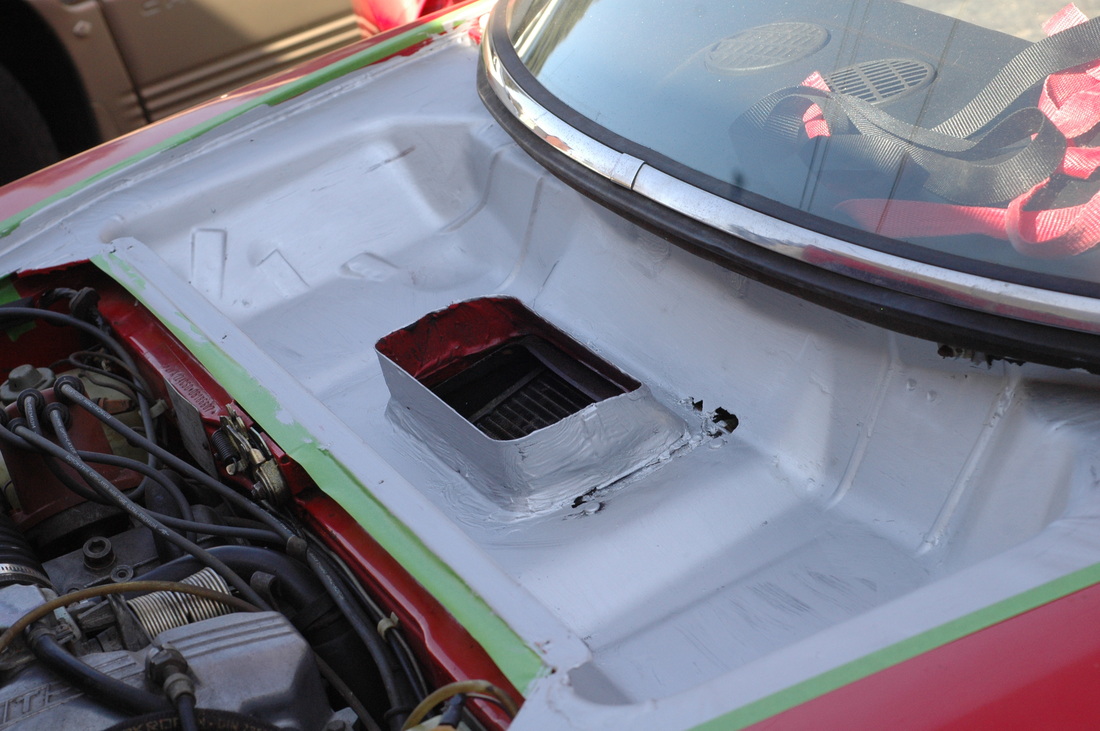
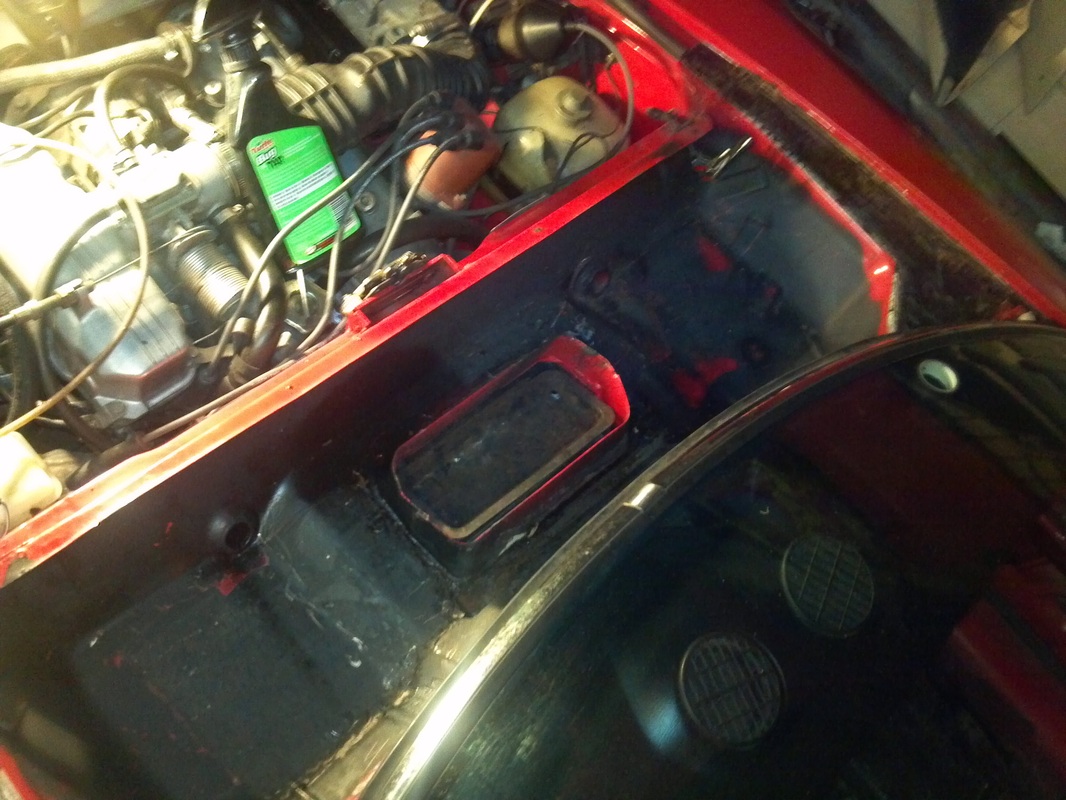
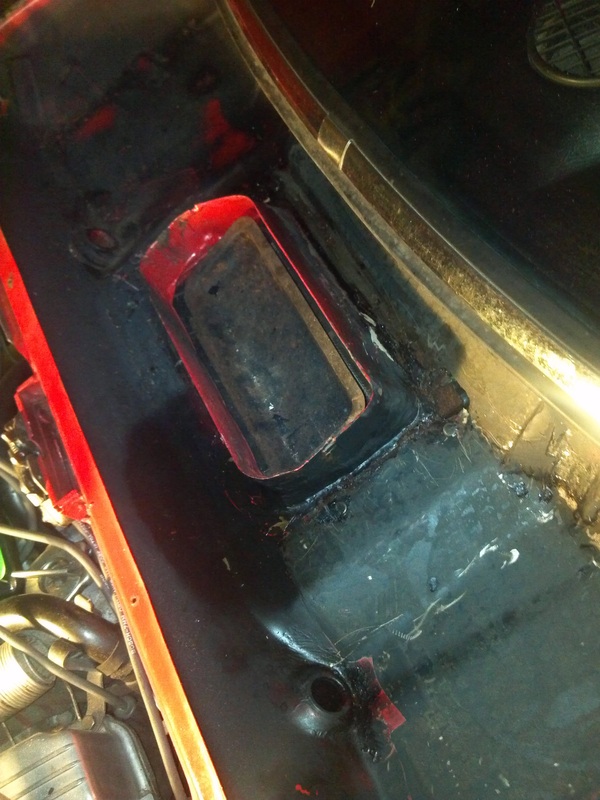
I'm very excited. Today was a big step in getting my Fiat back together. I put down a coat of master series silver. After prepping the interior and under the cowl for the past week I was able to head outside on a beautiful day and lay out some color. Silver to be exact. All of this will be covered by rug or a cowl so neatness wasn't a huge priority for me. I really just want everything to be protected and water proof. Here are some images to check out. I hope to put another coat of silver and do some fiberglass patching before I top coat with black. After that I start on the exterior so I can get some gas in her and see if she starts!
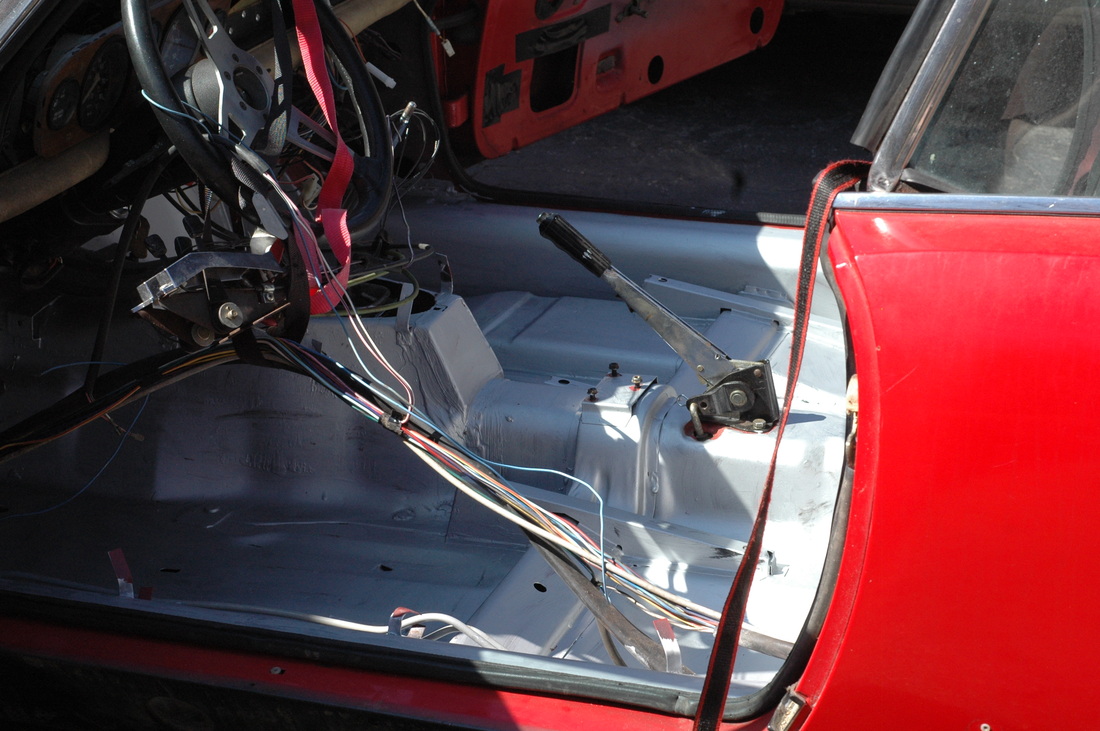
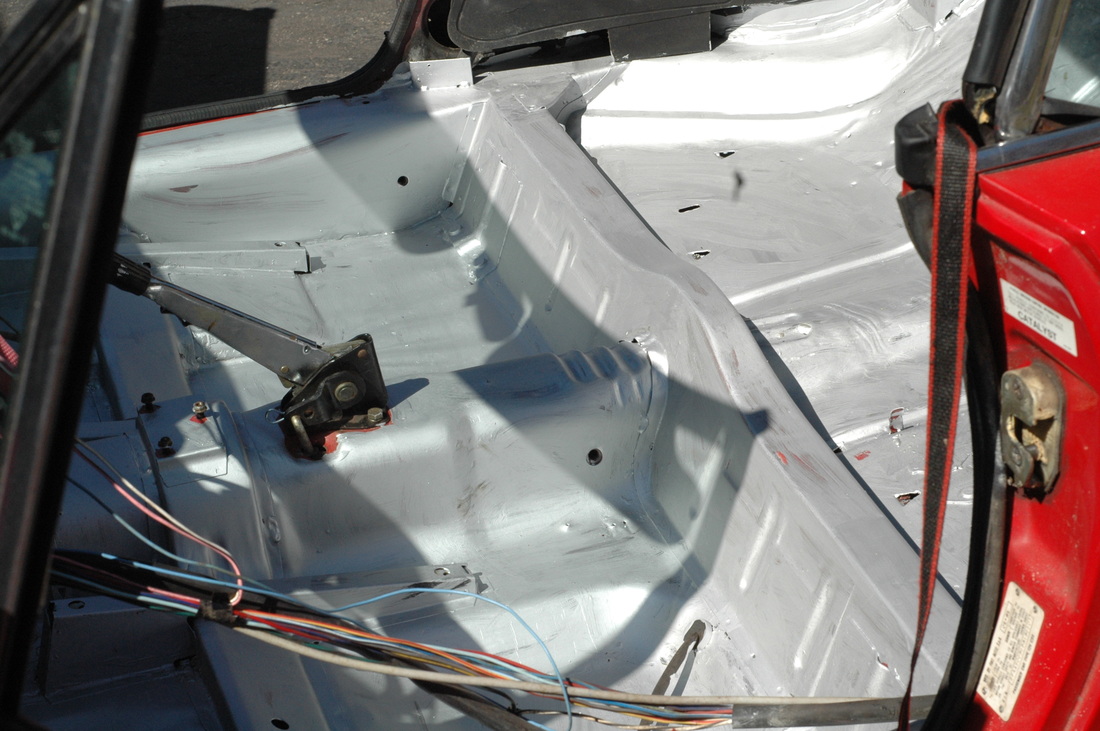
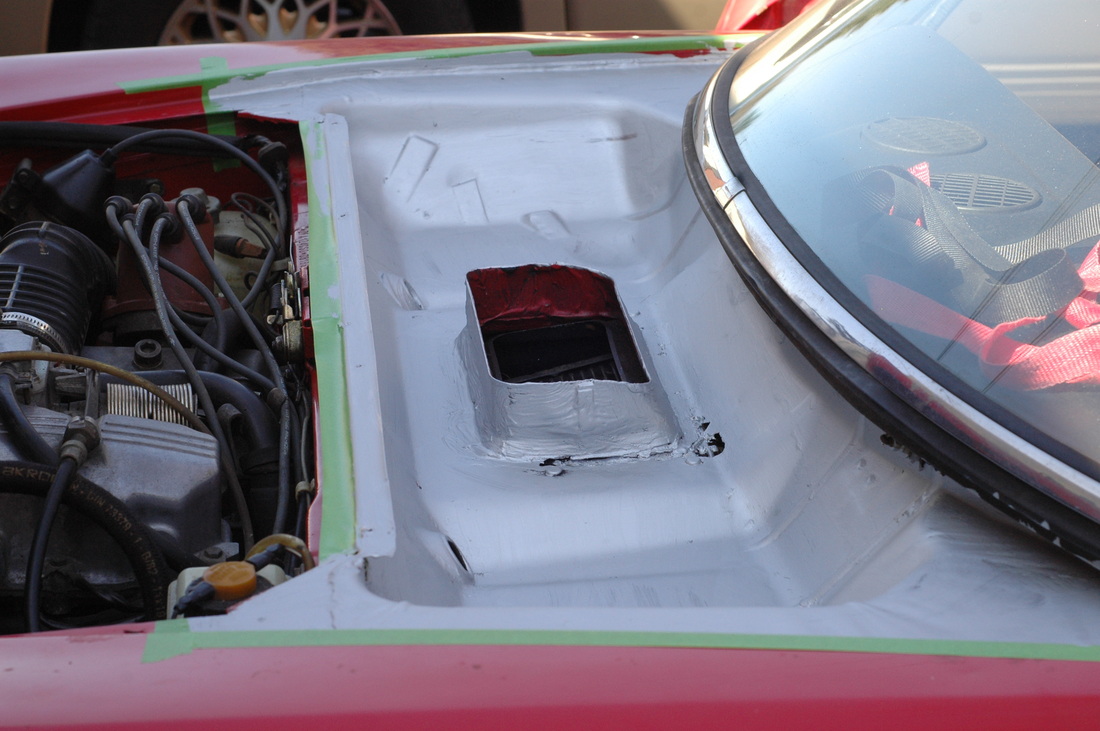
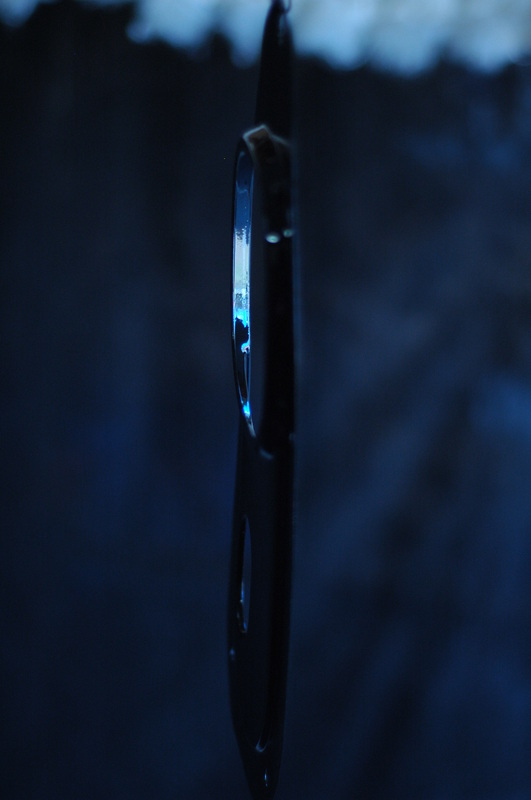
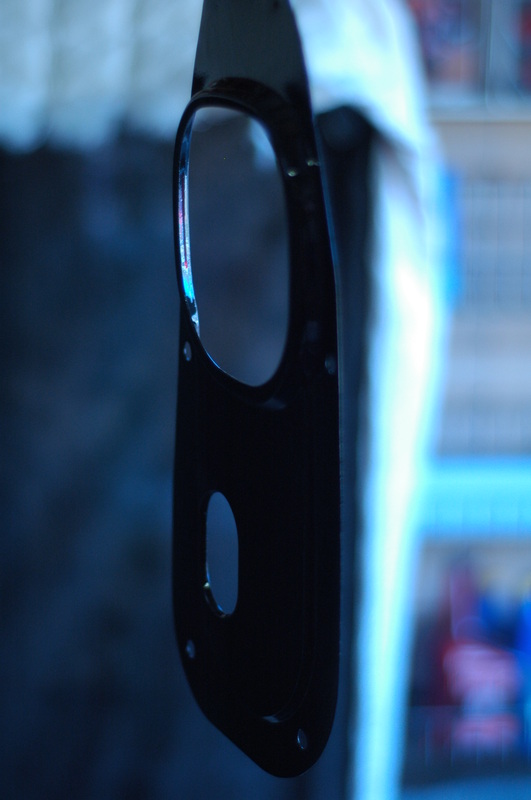
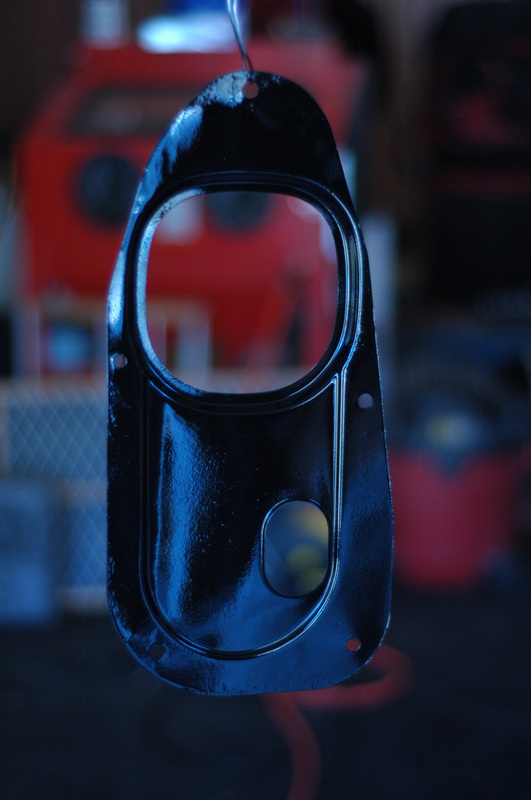
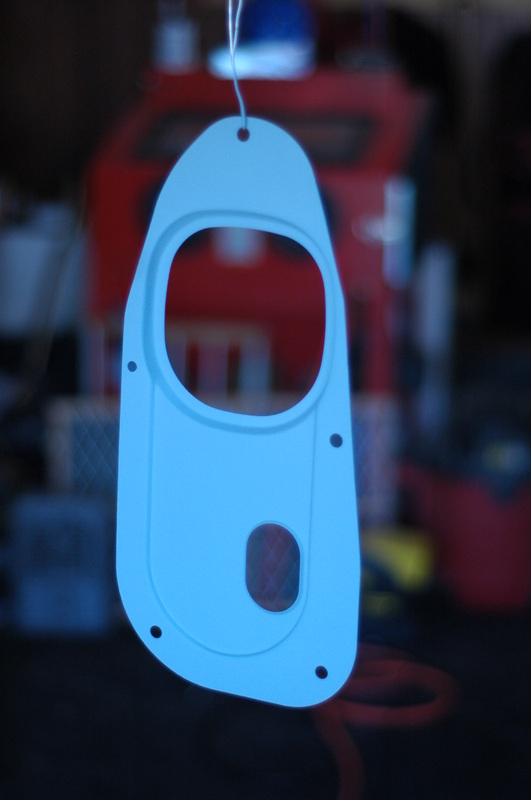
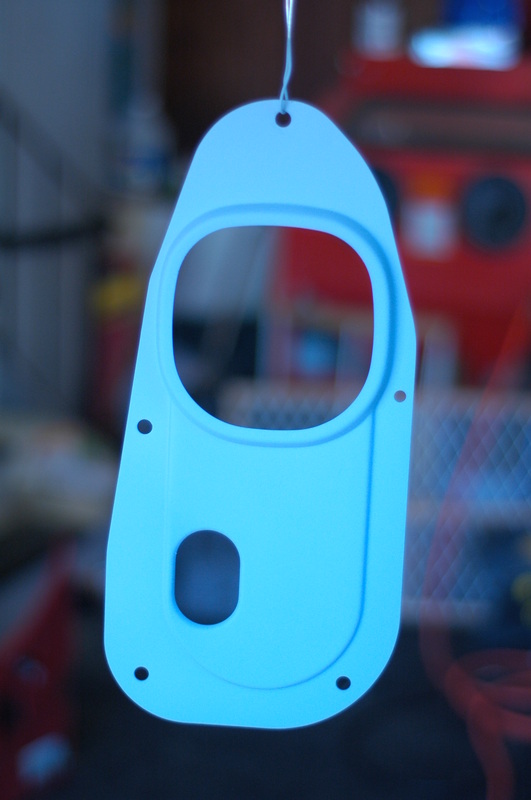
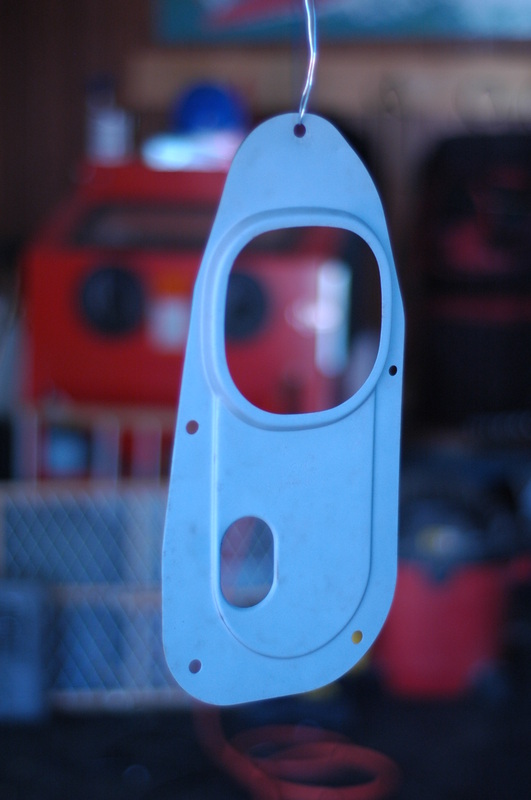
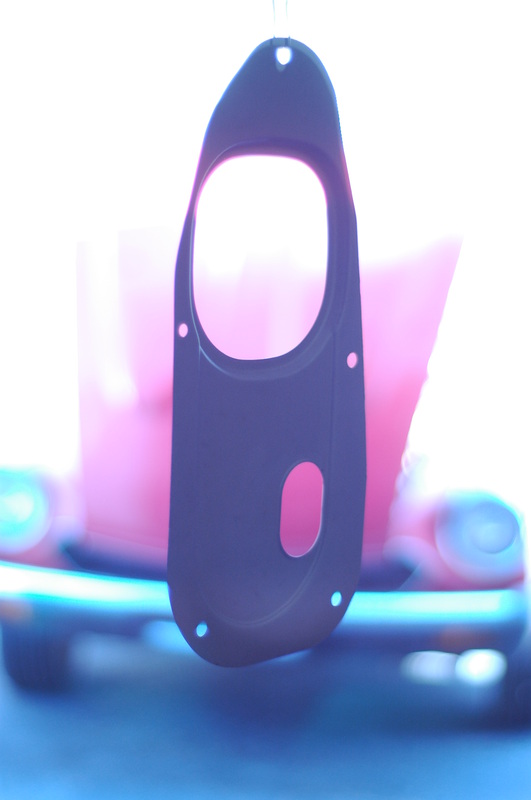
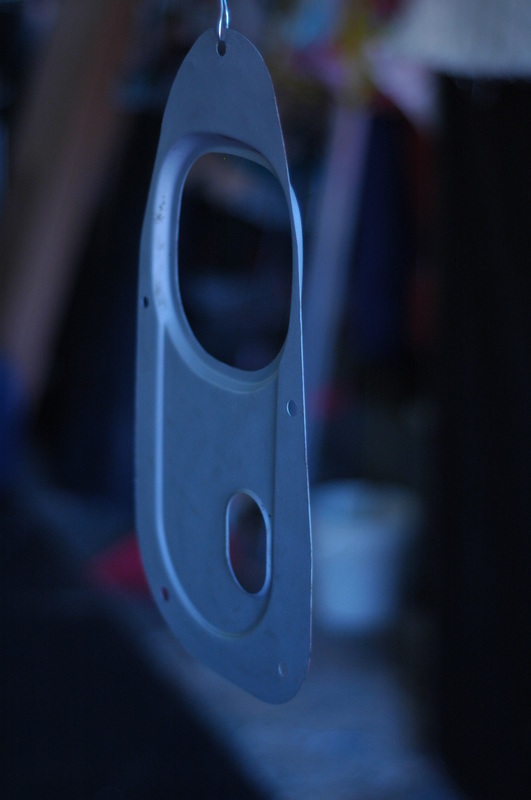
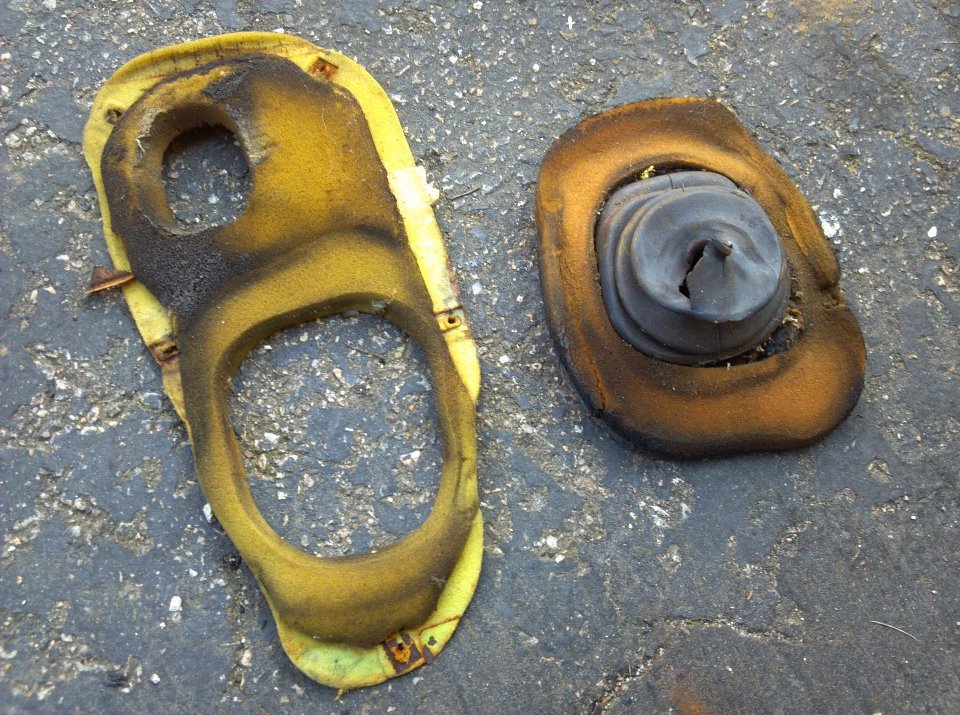
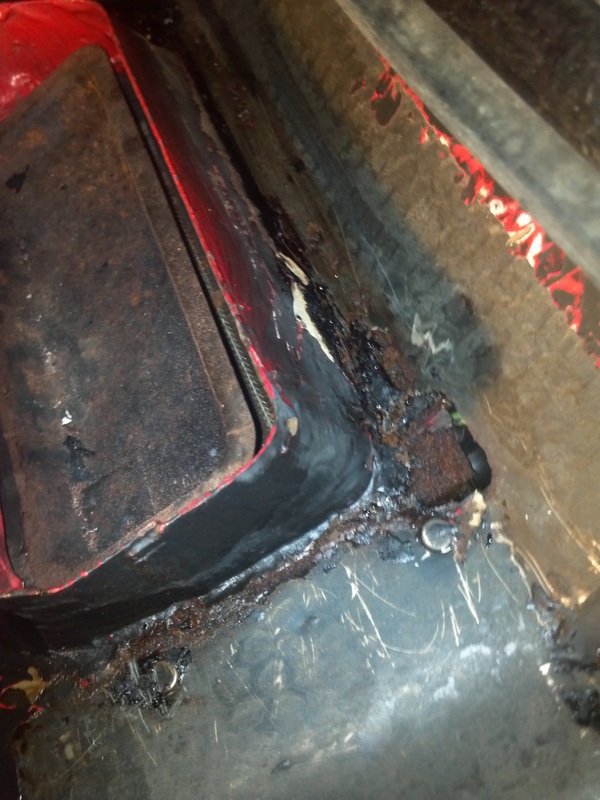
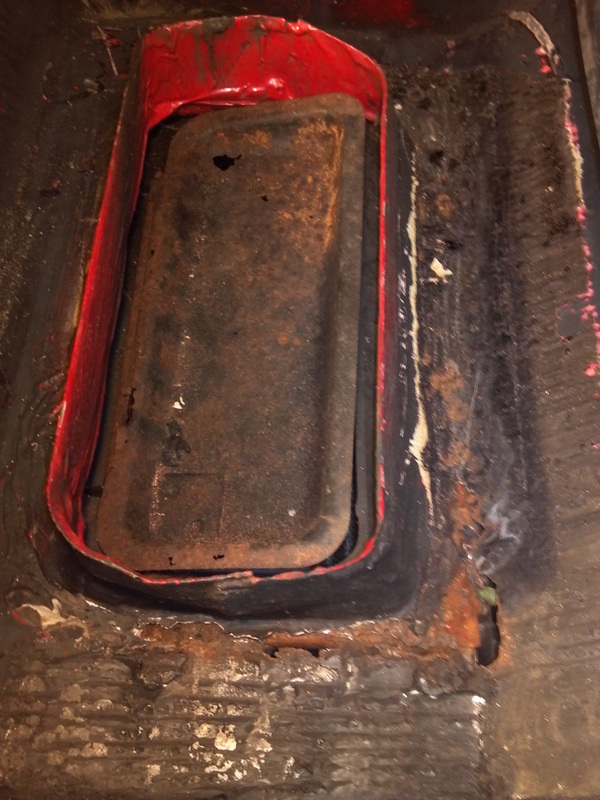
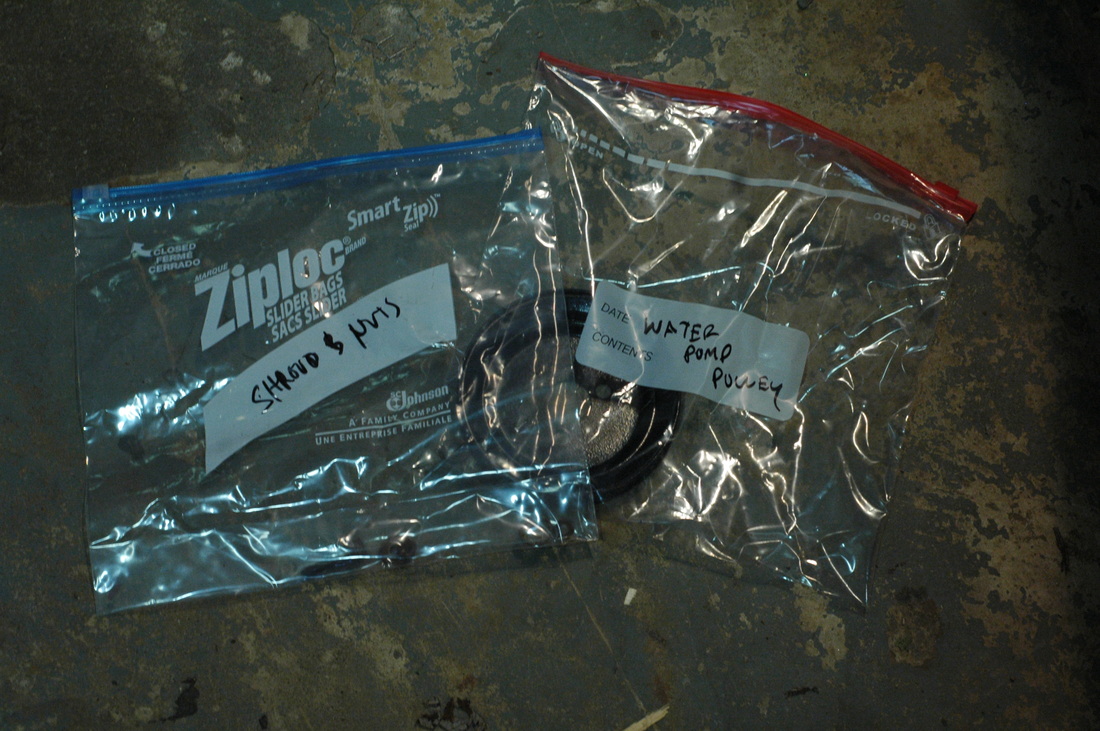
As you know I've been peeling up all the tar tiles off of the floor of the Fiat. Today I realized there was more on top of the transmission hump so scraped it all off. I also took the time to seek out any other little patches laying around that I had missed. Then I noticed that one of the tiles went under this shifter plate. Since I had to take out the plate I figured I'd media blast and refinish the part. I'm really happy I did. It was a little rusty, but now it looks great. I won't be able to see this part when I'm finished, but at least I know it will be well protected. Unfortunately the inner boot and foam piece look absolutely disgusting and will need to be replaced. I didn't really want to spend any more money on the interior. I'm not really surprised though. I'm not really sure where I will get the parts yet, but I did find the inner boot online. But I want to find someone who sells both parts. I can't afford a new carpet kit right now, so my options are to dye the original carpet black or to go with a black painted metal interior for now. I'm looking at Duplicolor Fabric and Vinyl paint. It can be found locally and it comes in gloss and flat. According to the instructions it does not require a primer. I think I may go in this direction for now until I can buy myself a kit. If I do dye the carpet I will be sure to post before and after pics as well as report on durability. Seeing as I will more than likely have floor rugs, I'm not too concerned about wear. Below I have posted a video of someone updating an old carpet with dye. My carpet is tan so it may take a few coats. The good news is that my carpet is tiny. If the weather holds up, I hope to get the Fiat out into the driveway this weekend and sand down the interior and cowl area. Once that is finished I can top coat with Master Series Silver and then do fiberglass repair. Everything will be blacked out and I will start re-assembly. I also need to black out the console and refinish the door panels. Here is some helpful info on dying vinyl in the interior. I started working on cleaning up the cowl section of the Fiat, when to my surprise I found a big old rust hole! The rest of the interior is so great, it's a shame this had to happen. My only option is to clean up the area really well, remove as much rust as I can, seal it, and lay out some fiberglass. It will be an afternoon project, but I'll need to wait for the weather to get warmer. I'd like to do this outside. I'd also like to pull out the heater flap and figure out a way to get it more solid. It's falling apart. Last night I had my buddy over to help me figure out wiring. Two heads are always better than one. PLUS! It's a lot more fun to work on a car if you've got company. Even if the other person is drinking a beverage and watching. I figured I'd share the wiring labels with you in case you need them! They aren't quite finished and I'm not 100% sure they are all perfect, but I think it will get you most of the information you'll need. Also, I will update the information as I assemble the car and are certain I was right. Until then, here is a slide show of the labels with captions. If anything is wrong I will site it in the captions. Wiring information for 1981 Fiat Spider 2000After tearing everything up with the multi tool I had bits of tar all over. A speck here and a speck there. I decided to grab my paint thinner and soak a rag and lay it on problem areas. After letting it sit for a while any residue was easily wiped up with an extra rag. There are a few areas where the tar is still caked on pretty good and I'll need to do some detailed scraping. After it's gone, I'll do some more wiping and hopefully I'll be ready to sand it down and then paint it with Master Series Silver. That will be top coated with gloss black Rustoleum Rust Coat. 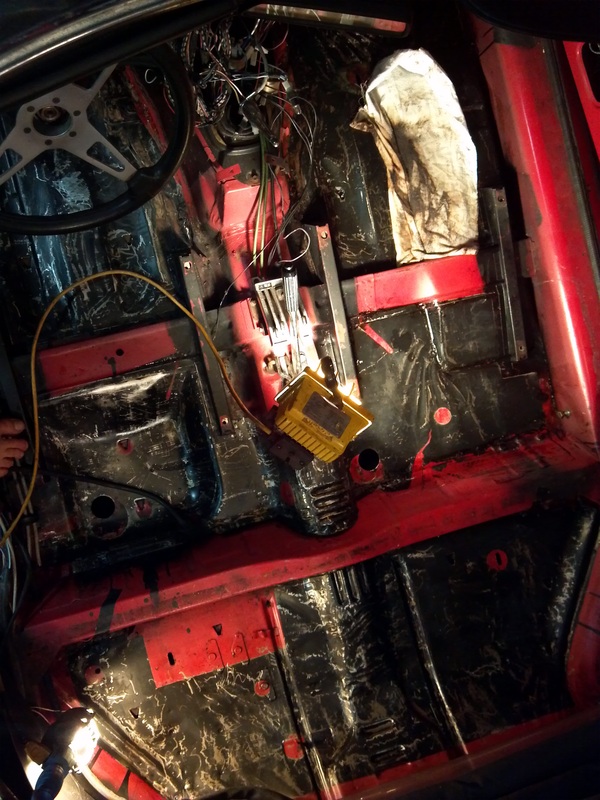
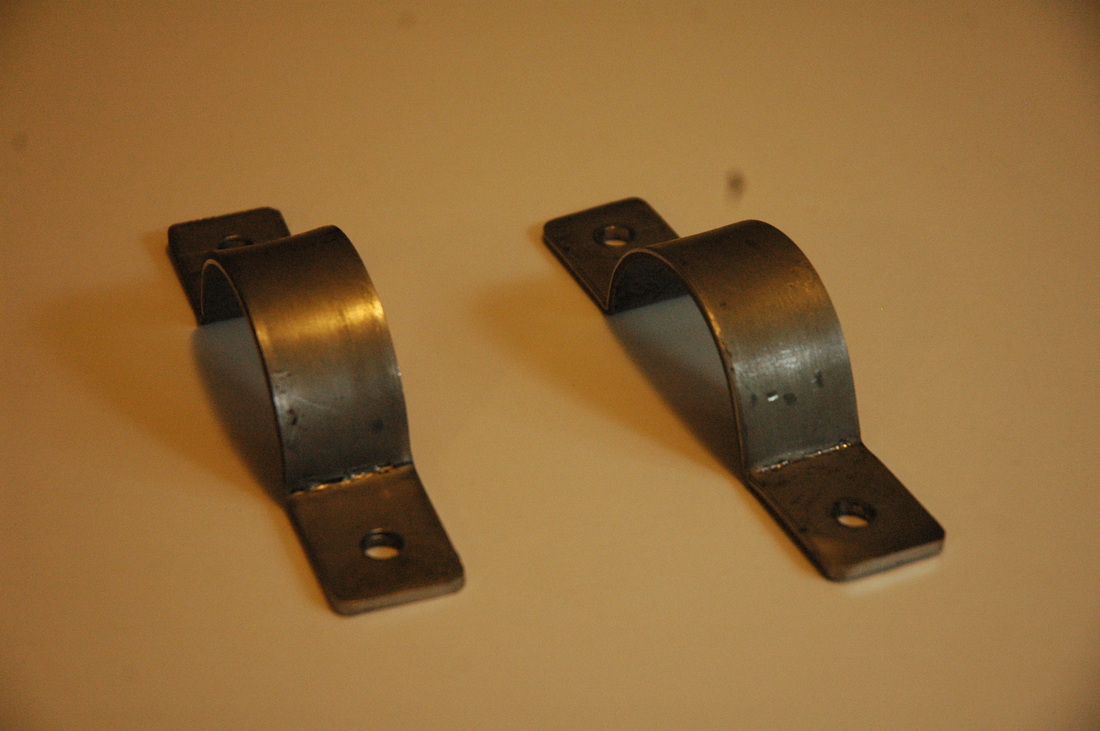
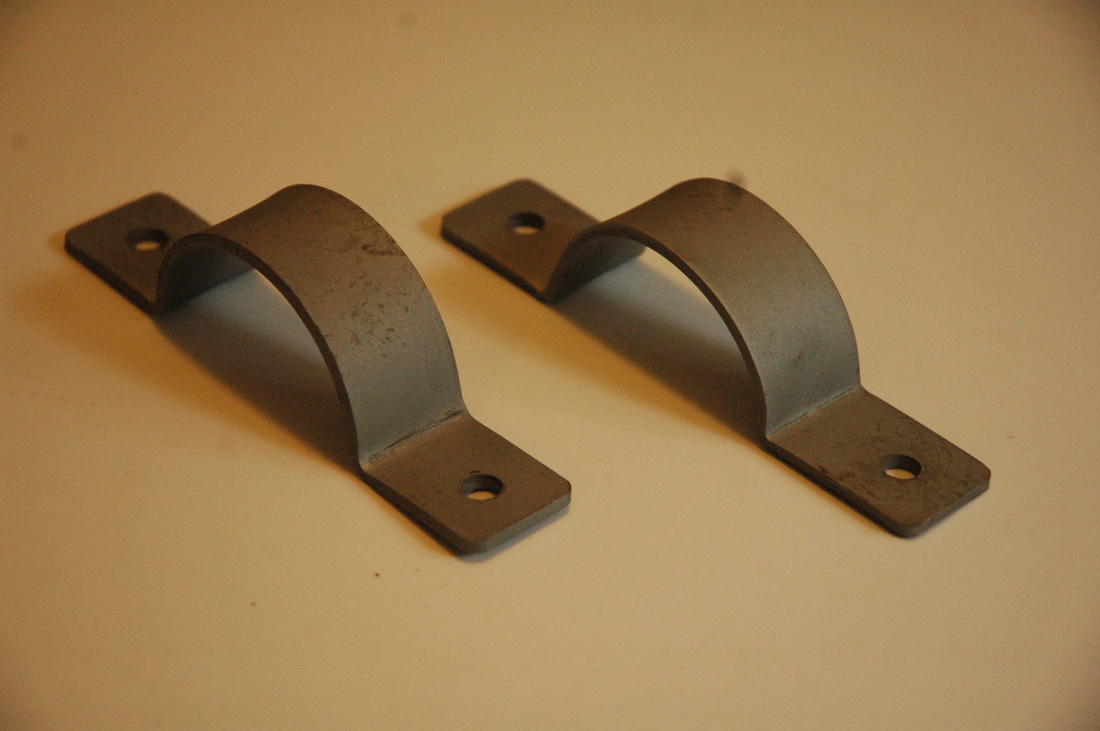
A lot of people talk about "the brown wire fix" for the Fiat Spider. I've heard about it and until recently haven't researched it much. Today I did some digging. I found a great article describing what to do and what issues it helps you avoid. Since I can't really do too much painting work on the Fiat until New England warms up, I'm going to take the opportunity to tackle small projects throughout the car. One of which will be following the instructions in this article. All it requires is purchasing a #10 wire and running it from the starter stud up to the #30 port on the back of the ignition switch. I'll report progress when I'm finished. With little effort I was able to get the timing belt installed. I had some issue figuring out how to get the tensoner bearing fully loose. You must loosen the center bolt and the lower right bolt for it to pivot. After the timing marks were aligned, I simply popped off the old timing belt and carefully put it back on. I'm sure the timing will need to be checked if the car ever starts. When I was finished with the timing belt, it was time for me to install the water pump and alternator belt. This should have been simple, but when I put the water pump pulley back on I did it backwards. Obviously, since the pulley is not symmetrical the belt did not line up. It took me a little while to realize what I had done. Once I was finished with the belt I thought I'd start to put the hoses back on. Unfortunately I lost the gasket for the tee joint on the block which prevented me from proceeding. It's always something small and silly. So, as soon as I can I will order that .95cent part off the internet and pay $6 in shipping... I also need to head down to the local auto parts store and pick up some hose clamps to make my life easier. I looked ahead in the line of "things to do" on the Fiat and also realized that I need a gasket for the air flow meter. I need to do some more research and figure out any other parts that may be missing so I'm not slowed down the line. A lot of the things I can get locally, but things like gaskets and car specific parts need to be ordered. 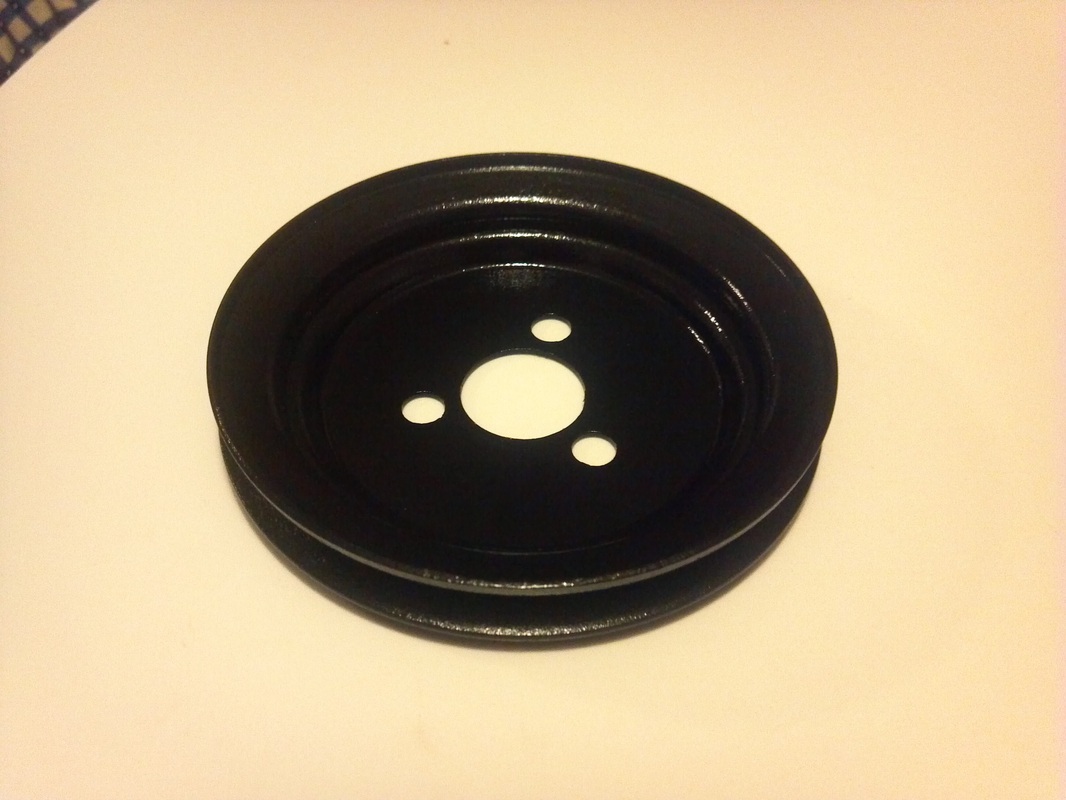 I decided to replace the timing belt. It has been replaced in the past few years, but since it was sitting in one place for so long and had a large pile of nuts jammed into it (courtesy of some squirrels, chipmunks and mice) I decided it was best to replace it. In order to replace it I have to pop off the tensioner, water pump pulley and possibly the crankshaft pulley. We'll see about that. The first thing I removed was the water pump pulley. I did this over a week ago. Yesterday I found some time to media blast it, prime it and topcoat it. You won't be able to see this pulley in my engine bay, but it will help it last another 30 years. Looks nice, right? I wanted to do some welding today, but the weather is not cooperating. I'll see if I can't get further on this project to I can get all the hoses and radiator back into the engine compartment. 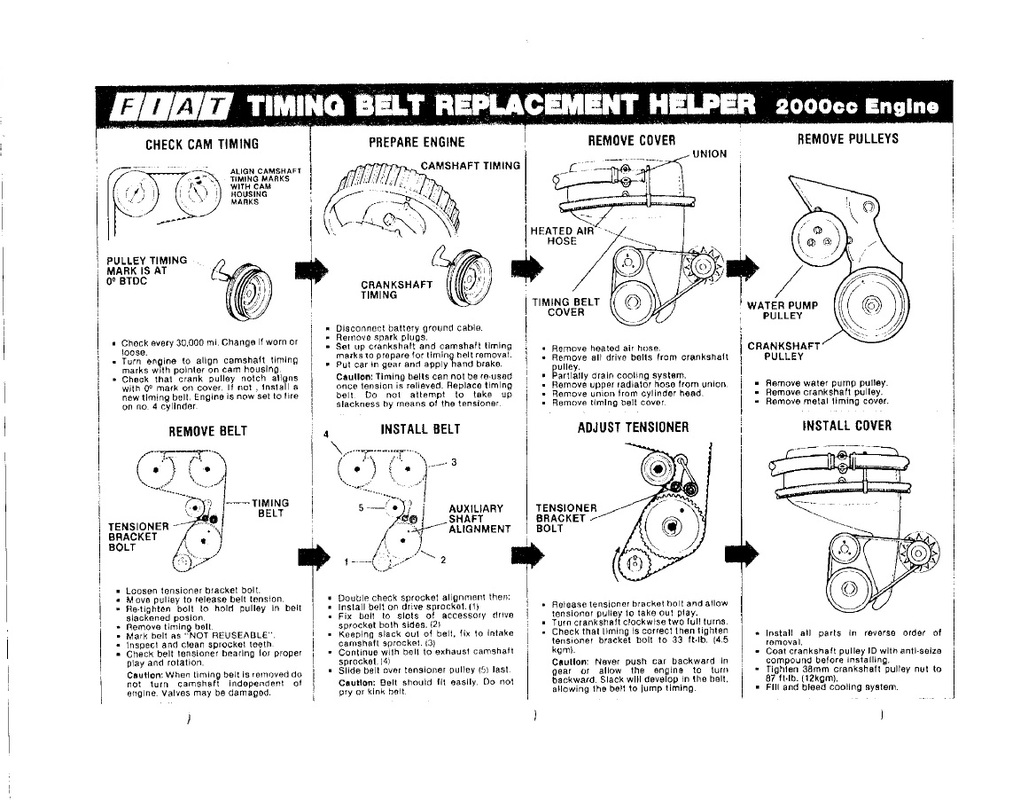 Here's some info on replacing your timing belt. Just click on the image and it will get bigger. I really don't want to take that crankshaft pulley off if I don't have to. We'll see. 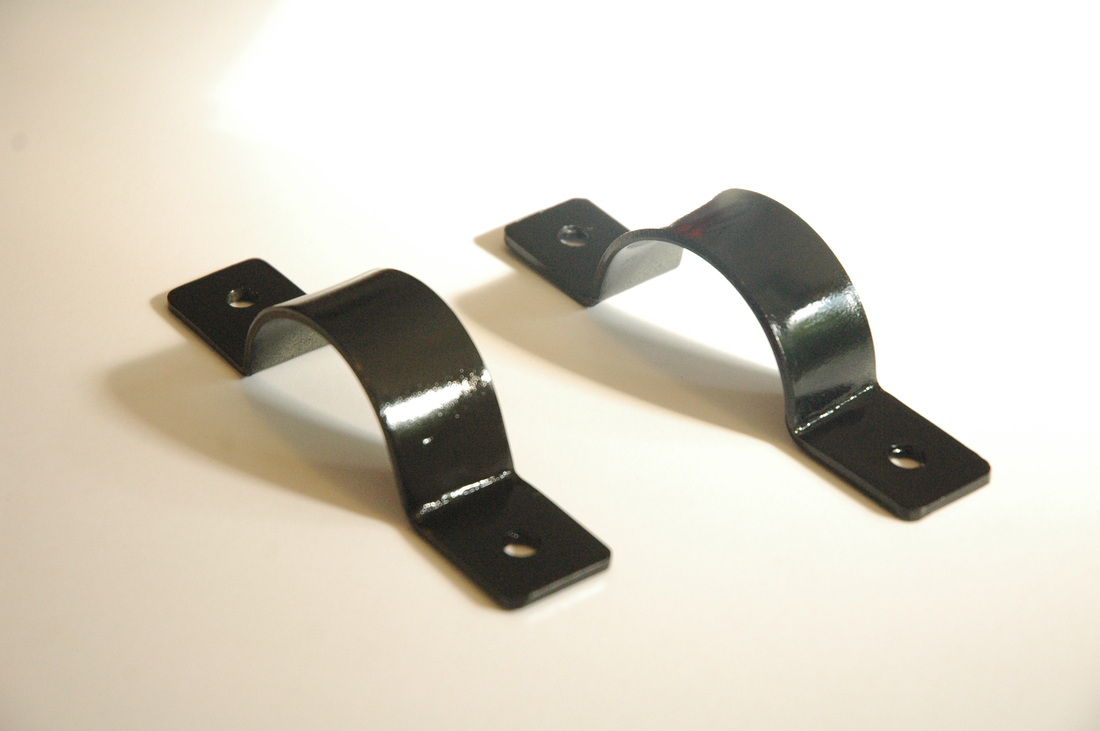 Not too bad. Do they look factory bought? No. But it doesn't matter they will be under my car under a shield holding a fuel pump. Most importantly I don't want them to rust. I took some one inch steel stock and beat these into shape using a hammer, vice, 2" pipe and various other tools. I used some JB Weld to weld my pulley back onto my drill press because I can't find replacement parts. Works pretty good. In fact, better than before. | The MechanicStay at home father of four, living in a single income house and being the family mechanic. It's time for him to have some fun on the side. If you like what you're reading or enjoy the free template downloads, please donate to my Fiat Fund.

Use template at your own risk.
ArchivesAugust 2014 CategoriesAll The information on this blog is for informational purposes only. I'm not an expert in any shape or form. |


 RSS Feed